Practical image editing guides for Mac.
Learn how to edit photos and screenshots on Mac. Get a better crop, a smaller attachment, or a screenshot that makes your point, with clear instructions for the image tasks you do every day.
These tutorials use Montane, a free image editor built for Mac. You can follow along on macOS 14 or later, with your images staying on your Mac while you work. Choose the task you need, learn which settings matter, and save a copy you can use with confidence.
Find your next edit.
Convert and export
Get your image into the format the next app, website, or person needs. Learn when to choose JPEG or WebP, how to check the saved result, and how to handle a whole folder of files.
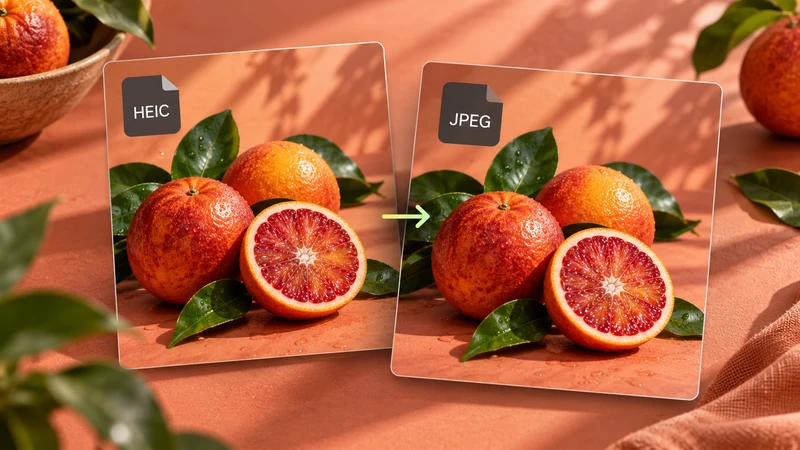
How to convert HEIC to JPEG on Mac
Create a compatible JPEG copy and choose quality without changing your original.
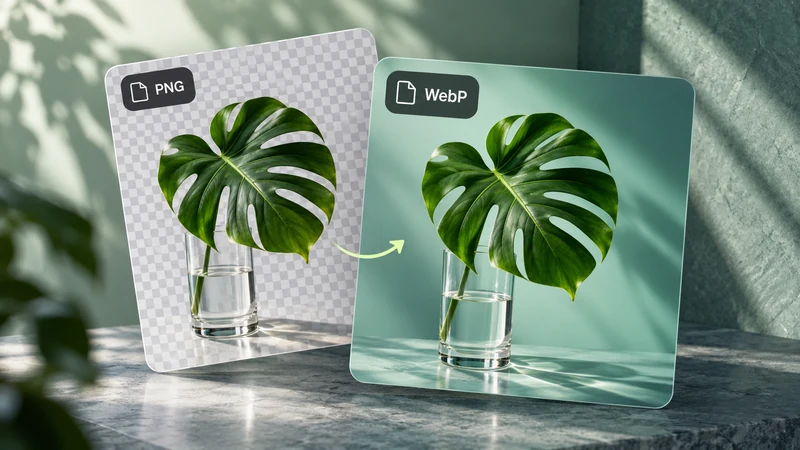
How to convert PNG to WebP on Mac
Check quality, encoded size, and transparency before saving a WebP copy.
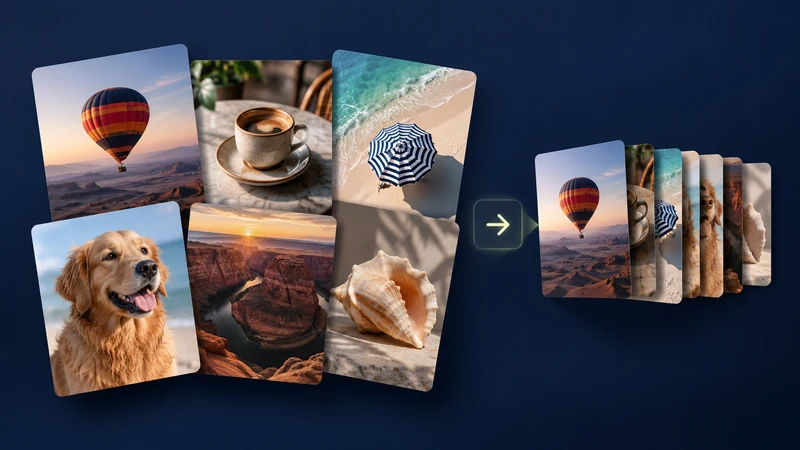
How to batch convert images on Mac
Convert several files with shared format, size, and naming settings.
Size and composition
Make an image fit its destination without stretching the subject or throwing away detail unnecessarily. Start with dimensions, framing, or file size depending on what needs to change.
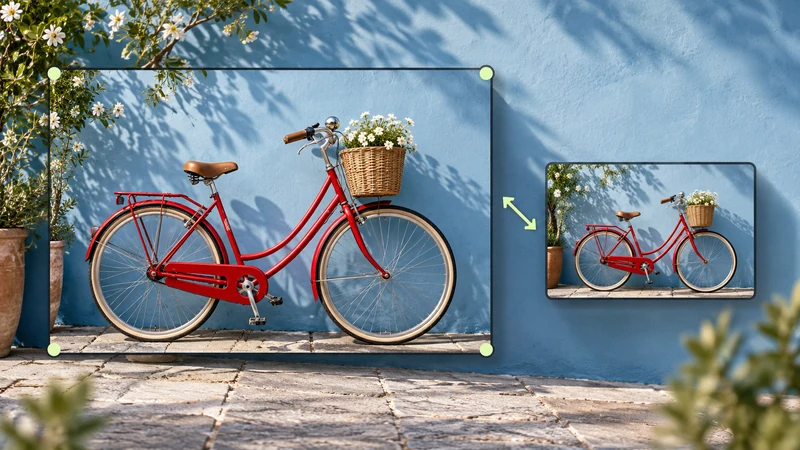
How to resize an image on Mac
Set pixel dimensions, keep proportions, and avoid unnecessary enlargement.
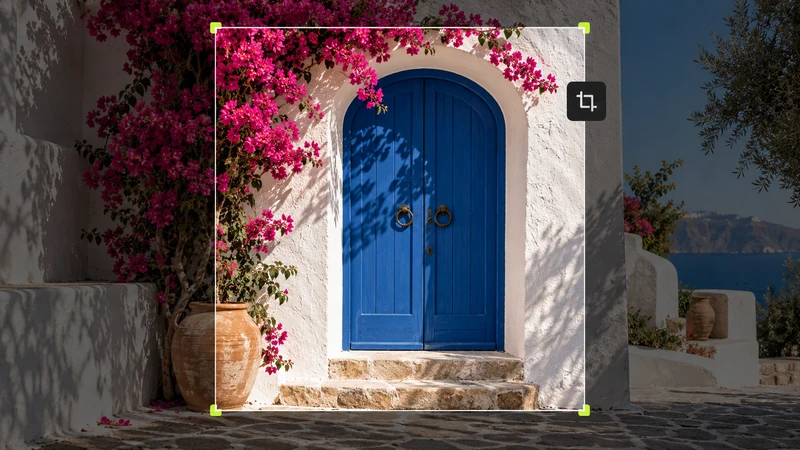
How to crop an image on Mac
Choose a shape, remove distractions, and keep the details that matter.
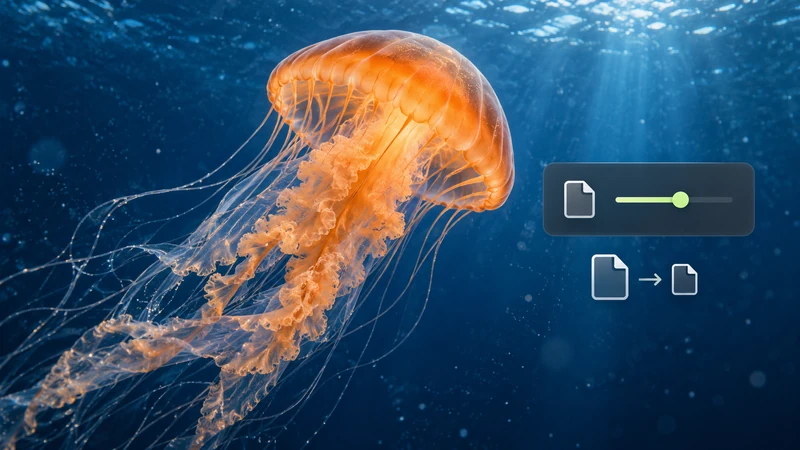
How to reduce JPEG file size on Mac
Balance JPEG quality and bytes with an actual encoded-size preview.
Explain and improve
Point to the detail that matters, add a readable caption, or make a photo’s light and color feel more balanced. Small changes can make an image much easier to understand.

How to annotate screenshots on Mac
Use clear arrows, shapes, and labels to make screenshot feedback easier to follow.
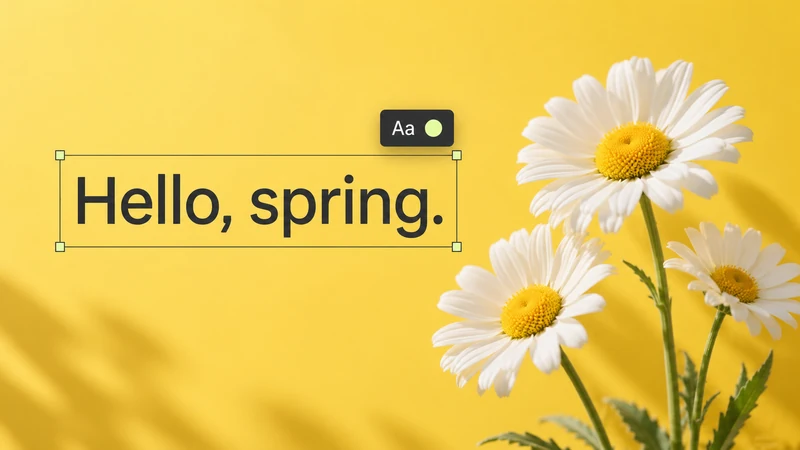
How to add text to an image on Mac
Style and place a caption that remains readable in the final image.
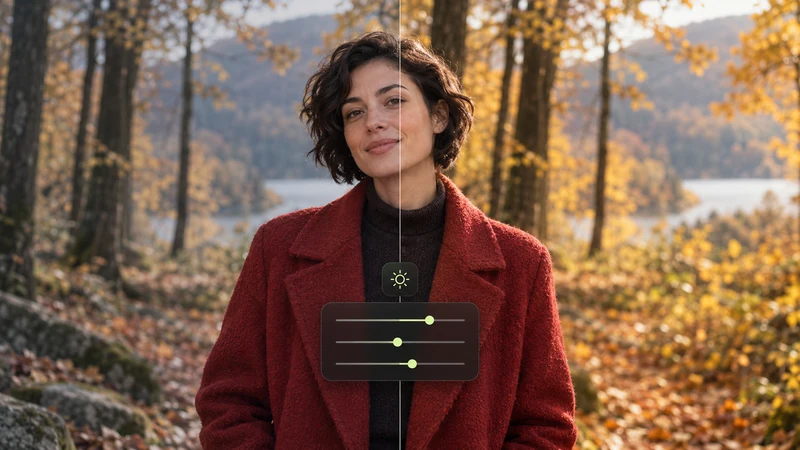
How to adjust photo colors on Mac
Make thoughtful light and color changes with a live original comparison.
How to remove embedded image metadata on Mac
Export a sharing copy without preserving embedded fields, then inspect it.
A useful order for everyday edits.
Preparing a photo for a website? Crop the composition first, set the pixel dimensions next, then choose a WebP export if your publishing workflow accepts it. For an attachment with a strict limit, finish by checking the JPEG file size.
Sharing feedback? Keep only the relevant area of your screenshot, add a few clear annotations, and review the result before sending it. When you need a title or caption rather than a set of callouts, use the text guide.
Made for the way you use your Mac.
Montane brings viewing, quick edits, annotations, and conversion together in a native Mac app. On macOS 26 and later, Liquid Glass gives its controls a translucent finish that lets your image remain part of the interface. Earlier supported versions use the standard Mac appearance.