How to batch convert images on Mac
To batch convert images on Mac, choose File → Batch Convert in Montane, add your images or a folder, select a destination, and choose a shared output format. You can also fit-resize, rotate, remove embedded metadata, and add a filename prefix before starting the conversion.
This guide uses Montane, a free Mac image editor on macOS 14 or later. Batch conversion preserves the input files and processes the chosen images sequentially. Existing output files are skipped with an error rather than silently overwritten.
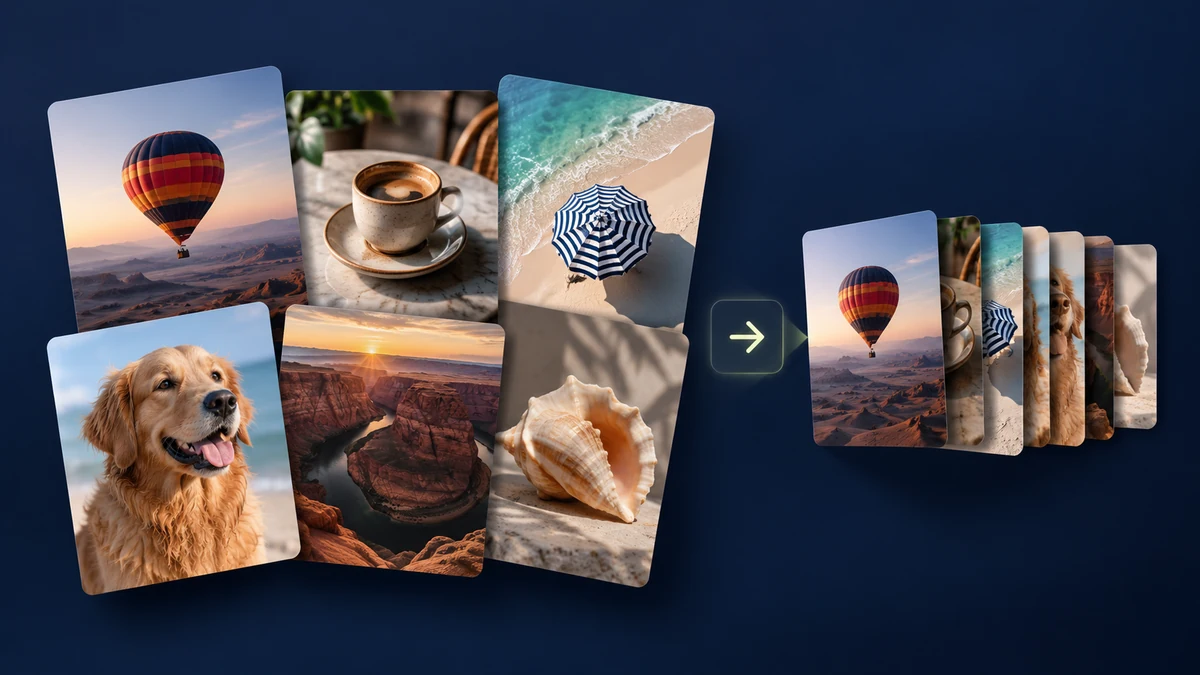
Use a batch for a shared task
Batch conversion makes sense when several files need the same treatment: a group of HEIC photos that must become JPEGs, PNG assets that need WebP copies, or mixed-size pictures that should fit within a maximum width and height.
It is less suited to edits that need a different decision for every composition. A portrait and a landscape may both fit within the same bounding box, but they should not necessarily receive the same tight crop or color adjustment. Finish individual creative edits first, then use a batch for the repeatable export work.
For a new quality setting, prepare one representative file before running the full collection. The JPEG conversion guide and WebP guide explain the preview and format tradeoffs. Include examples with transparency or fine detail when those appear in your collection.
Set up a batch conversion
- Open Batch Convert. In Montane’s menu bar, choose File → Batch Convert.
- Add the inputs. Click Add Images or Folder and choose files or a folder. A chosen folder contributes its immediate image files; Montane does not recursively include nested folders.
- Choose a destination. Click Choose Destination and select an output folder. A separate folder makes the exported collection easier to review.
- Select the format. Choose the output Format. For lossy formats that expose a quality control, choose a setting suitable for the images and destination.
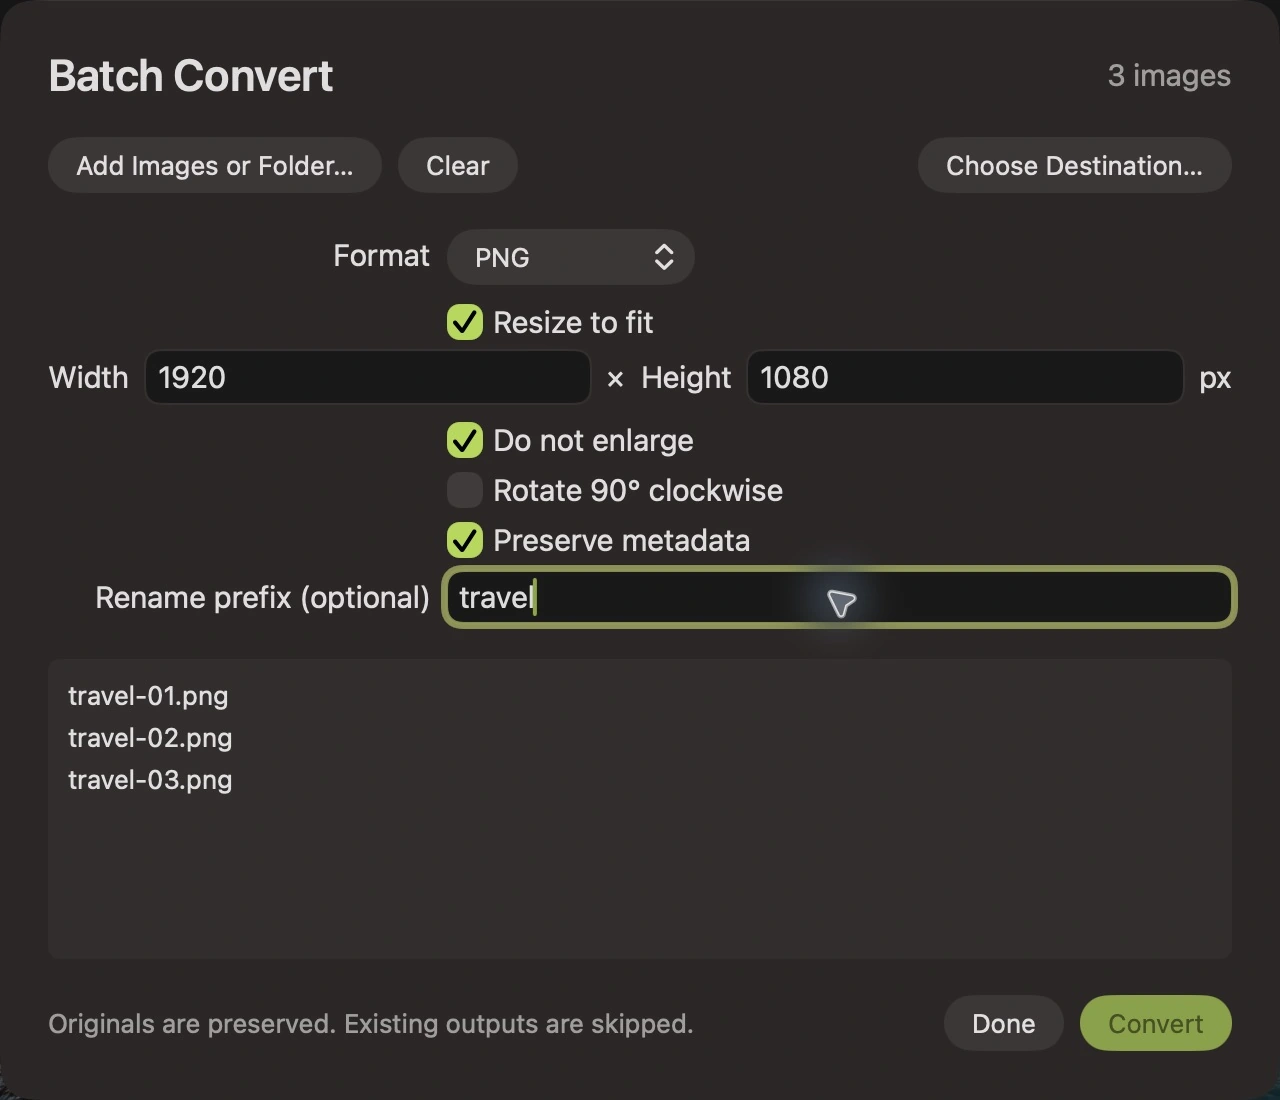
- Set optional dimensions. Enable Resize to fit if needed and enter a maximum width and height. Leave Do not enlarge selected when smaller sources should stay at their existing size.
- Choose the remaining options. Enable the 90° clockwise rotation only if every selected image needs it. Choose whether to preserve metadata, and enter an optional rename prefix for a numbered output sequence.
- Review and convert. Check the input list and settings, click Convert, and read any format warning before continuing. Review the per-file results afterward.
Understand resize to fit
A bounding box sets maximum dimensions while keeping the source proportions. It does not force every output to have an identical width and height. For example, a landscape image and a portrait can both fit inside 1920 × 1080 while producing different final dimensions.
With Do not enlarge enabled, an image already smaller than the box stays smaller. In the screenshot example, the 1586 × 992 input fits within the 1920 × 1080 box and therefore does not need enlargement. Use the resizing guide if you need a single image to reach a particular width.
This distinction matters for galleries and content systems. If every card must use a specific shape, prepare a consistent crop for each image first. A fit-resize is not a content-aware crop, and it will not make every subject occupy the same part of the frame.
Review format warnings and filenames
JPEG and BMP fill transparent areas with white. GIF uses a limited palette and has transparency constraints. Multi-frame inputs produce only the first frame as a still image. WebP output omits embedded metadata. Read the warning for your chosen settings instead of assuming every property of the source survives.
The optional rename prefix adds a sequence number, such as image-0001.png. Review the output names if they will be published or delivered to a client. A numbered sequence is convenient, but it does not tell the recipient what each picture contains.
If an output name already exists, Montane skips that file and reports an error. Choose a fresh destination, change the prefix, or otherwise resolve the name conflict before retrying. Do not assume a skipped item was successfully updated.
Check the completed collection
Review both the result list and a sample of exported files. Include portrait, landscape, transparent, and detail-heavy examples when applicable. Confirm dimensions, visual quality, and whether the destination accepts the format.
One quality setting does not guarantee one file size. A batch intended for a strict per-file upload limit needs individual size checks; the JPEG compression guide explains why encoded bytes vary.
Common questions
Can I stop a conversion?
Yes. Stop After Current File lets the current file finish. Completed outputs are kept and remaining inputs are not processed. Review the results before restarting.
Does batch conversion apply my open document’s annotations?
Batch conversion processes selected input files. Finish and export an edited composition before adding that saved output to a batch. Do not expect unsaved objects in a separate open session to appear automatically.
Can I remove embedded metadata in a batch?
Turn off Preserve metadata for the batch. WebP already omits embedded metadata. Read the metadata guide for output checks and the limits of that setting.
Explore Montane or return to all guides for an individual editing task.