How to crop an image on Mac
To crop an image on Mac, open it in Montane, choose Crop, select a freeform or fixed aspect ratio, and position the crop around the area you want to keep. Check the boundaries, apply the crop, and save a new copy.
This guide uses Montane, a free image editor for Mac on macOS 14 or later. Cropping removes part of the composition. If you want to keep the whole picture and change its dimensions instead, use the resize guide.
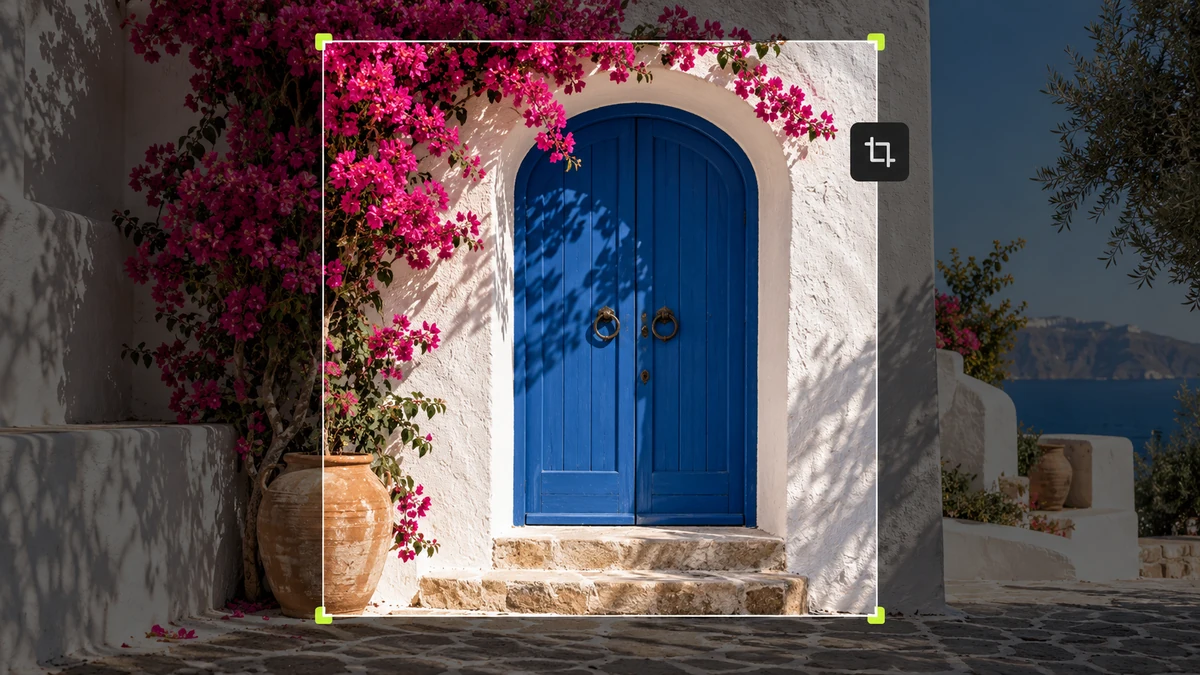
Start with what the image needs to say
A useful crop makes the subject easier to see. That might mean removing an empty edge from a screenshot, giving a product more presence, or trimming a distracting foreground from a landscape. Choose the framing for the destination, not just because a tighter image looks different.
Before editing, look for details you need to keep: a person’s hands, the top of a mountain, a chart label, or a piece of interface context. A screenshot that loses the relevant toolbar may become harder to understand even though it contains fewer pixels.
Keep the original. Cropping throws away part of the saved composition, and the exported copy cannot restore what is outside its boundaries. You can undo while the editing session is open, but a separate original gives you more flexibility later.
Crop an image in Montane
- Open the image. Choose File → Open. Use a view that lets you see the full composition before deciding where the crop should go.
- Choose Crop. Click the crop tool in the left rail. Use the contextual controls to choose a ratio when you need one.
- Pick a shape. Use freeform for an arbitrary rectangle, or select an available ratio such as Original, Square, 4:3, 3:2, or 16:9.
- Draw or adjust the crop. Drag a crop region on the image. Move corner or edge handles to change its bounds, then drag inside the selection to reposition it.
- Check what will be removed. Look at each edge. Make sure text, faces, and other important details remain comfortably inside the kept area.
- Apply the crop. Use the crop’s apply control or press Return when the crop selection is active. Press Escape to cancel an unfinished selection.
- Save a copy. Review the result, then choose Save As. If the destination also requires an exact pixel size, resize the cropped result before exporting.
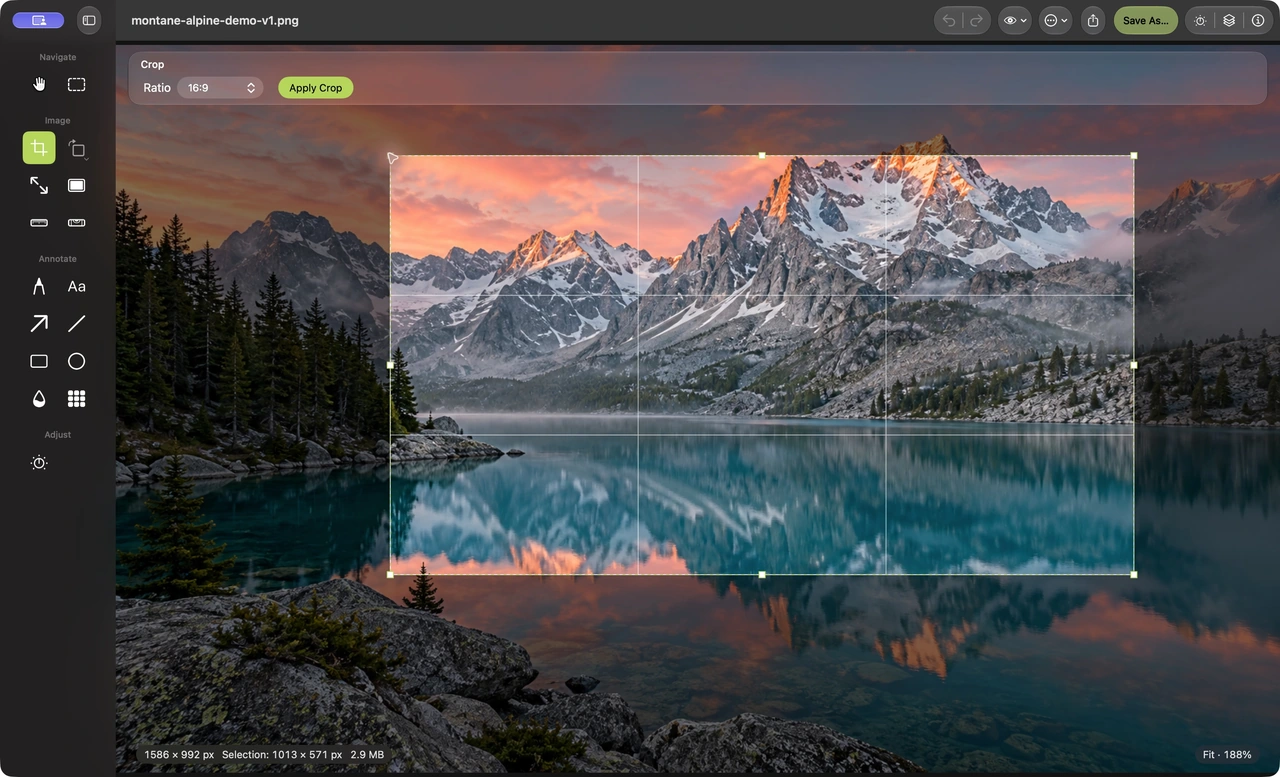
Aspect ratio does not set pixel dimensions
A 16:9 crop describes a relationship between width and height. It does not automatically mean 1920 × 1080 pixels. A much smaller or larger image can have the same ratio.
For a 1200 × 675 website image, first choose 16:9 and frame the crop. After applying it, open Resize Image and set the width to 1200 with the ratio locked, provided the cropped source is large enough for the intended use. The resizing guide explains dimensions and enlargement in more detail.
If the source is already smaller than the required output, reconsider the source or the requirement. Cropping takes pixels away; it does not supply missing detail. A crop that is too tight can make later enlargement more noticeable.
Frame photos and screenshots differently
For a photo, pay attention to balance and breathing room. A portrait may need space in the direction the person is looking. A landscape may benefit from keeping both a foreground feature and the horizon. These are starting points, not rules that every image must obey.
For a screenshot, prioritize evidence and orientation. Keep enough of the interface to show where the issue occurs, while removing unrelated panels or empty space. Add callouts only after the crop is settled, following the screenshot annotation guide.
If the image is tilted, use Straighten Image to correct its angle and review the boundaries afterward. Rotation and cropping affect framing, so check the subject again before deciding the image is ready.
Common questions
Does cropping reduce file size?
It can, because the saved result contains fewer pixels. The final byte count still depends on format and compression. For a specific attachment limit, follow the JPEG file-size guide after cropping.
Can I move the crop without drawing it again?
Yes. Drag inside the active crop region to move it, and use its handles to adjust the edges. Review the whole selection before applying it.
Are annotations still editable after cropping?
Montane retains editable objects while the document is open, including through image operations. Check their new positions and the visible result after cropping. Saving to a standard image format produces a flattened composition when reopened.
For a fuller look at the app, visit Montane. Find the next task in all guides.