How to resize an image on Mac without stretching it
To resize an image on Mac, open it in Montane, choose Resize Image, keep Lock aspect ratio enabled, enter the required width or percentage, and click Apply. Save a new copy after checking the resulting dimensions.
This guide uses Montane’s free Mac image editor on macOS 14 or later. It focuses on pixel dimensions: how wide and tall the image is. If your main problem is a file that takes too many megabytes, start with the JPEG file-size guide.
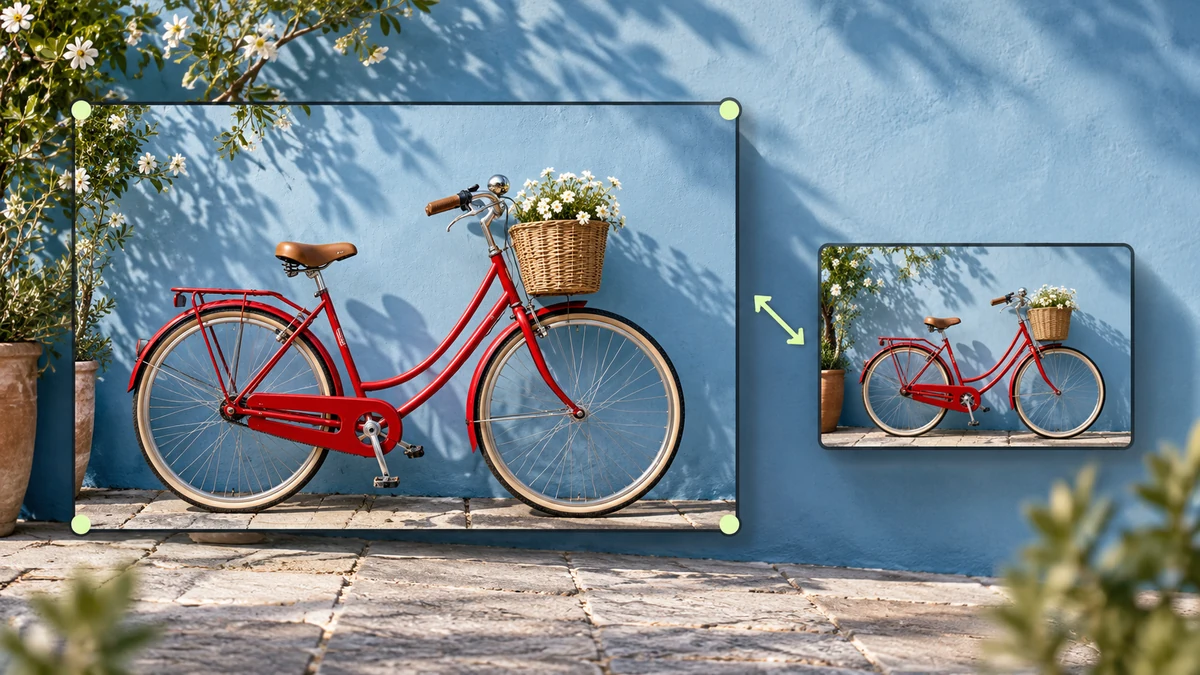
Image dimensions and file size are different
An image that is 2400 × 1600 pixels contains more pixels than one that is 1200 × 800. Reducing dimensions can make a file smaller, but the format, compression, and image content also influence its storage size. Two images with identical dimensions can have very different byte counts.
Resizing is also different from zooming. Zoom changes how large the image looks in the editor. Resize changes the pixels in the image you save. Looking at a photo at 50% zoom does not make its exported dimensions half as large.
Finally, Canvas Size changes the image’s surrounding area: it can add space or remove space according to an anchor. It does not perform the same proportional scaling as Resize Image. Choose the operation that matches the change you actually need.
Resize an image in Montane
- Open the source image. Choose File → Open and check its current width and height in the status information.
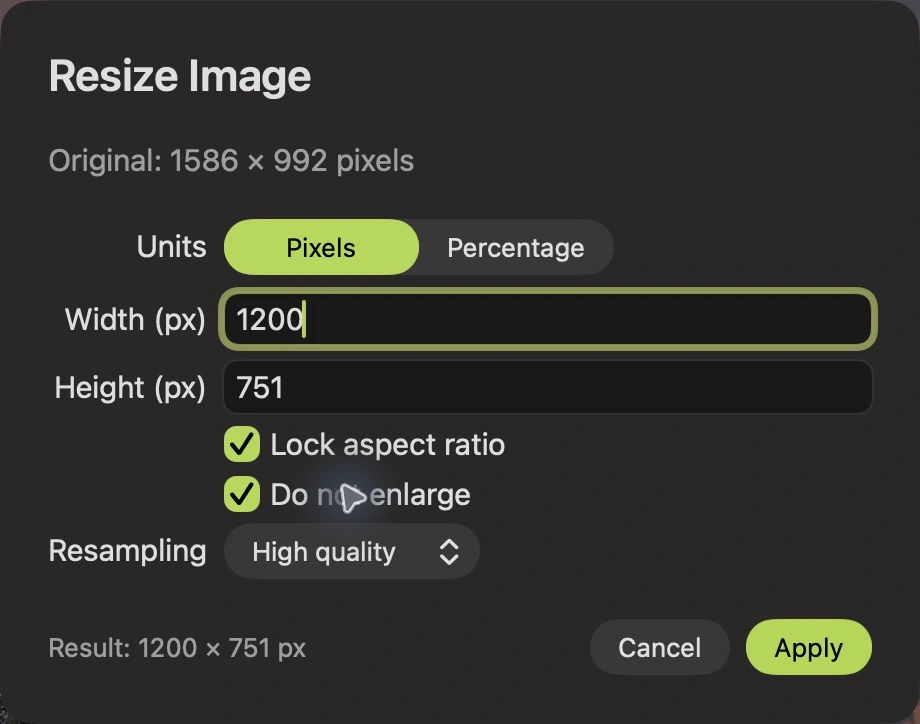
- Choose Resize Image. Click Resize Image in the left tool rail. The dialog shows the original dimensions and the proposed result.
- Choose your units. Use Pixels for a specific output width or height, or Percentage for a proportional change such as 50%.
- Keep Lock aspect ratio on. Changing one dimension then updates the other. This prevents a person, product, or landscape from being stretched to a different shape.
- Enter the target. Type the width or height required by the destination. Read the displayed result before applying it.
- Decide whether to allow enlargement. Enable Do not enlarge when you want to avoid making a small source bigger. Leave it off only when enlargement is intentional.
- Choose resampling and apply. High quality is a useful starting choice for ordinary photos. Click Apply, inspect the result, and use Save As to create an output copy.
A practical width example
Suppose a photo is 2400 × 1600 pixels and an upload asks for a width of 1200 pixels. With proportions locked, the matching height is 800 pixels. You get a smaller version of the full composition rather than a distorted photo.
If the upload instead requires an exact square, a proportional resize alone cannot turn a rectangular image into a square while keeping everything unchanged. First crop to a square, or use canvas space if you need to keep the entire subject with a border. Then resize to the required final dimensions.
For the screenshot example, the source is 1586 × 992 pixels. A locked width of 1200 produces a height of 751 after rounding to whole pixels. A one-pixel rounding difference is normal when the ratio does not produce an integer height.
Avoid a soft or distorted result
Enlarging an image creates more output pixels, but it cannot recover detail that was missing from the original. A small, soft source will not become a detailed photograph simply because you enter a larger width. Start from the largest appropriate original whenever possible.
Montane offers Nearest, Smooth, and High quality resampling. Nearest can be appropriate when you deliberately want hard pixel edges, such as a pixel-art asset. For photos, compare smooth or high-quality output instead. The right choice depends on the image rather than a universal setting.
Keep Lock aspect ratio enabled unless you have a specific reason to change the shape. If a required width and height fight the source proportions, solve the framing first. For a whole collection with mixed shapes, Montane’s batch resize-to-fit option fits each image within a bounding box without making every output the same shape.
Common questions
Can I undo a resize?
Yes, use Command–Z while the image is open. Keep the original file as well: exported standard images do not reopen with the editing session’s undo history.
Why is the resized image still a large file?
The export format and compression settings matter too. Use the saved image preview to see the encoded bytes. For photo attachments, adjust JPEG quality after choosing appropriate dimensions.
Can I resize several images at once?
Yes. Use Batch Convert with Resize to fit and set the maximum width and height. Check the output dimensions of both portrait and landscape examples.
See Montane on the home page or browse more image editing guides.